Shield Your Wood: Expert DIY Tips for Maximizing UV Protection for Outdoor Wood
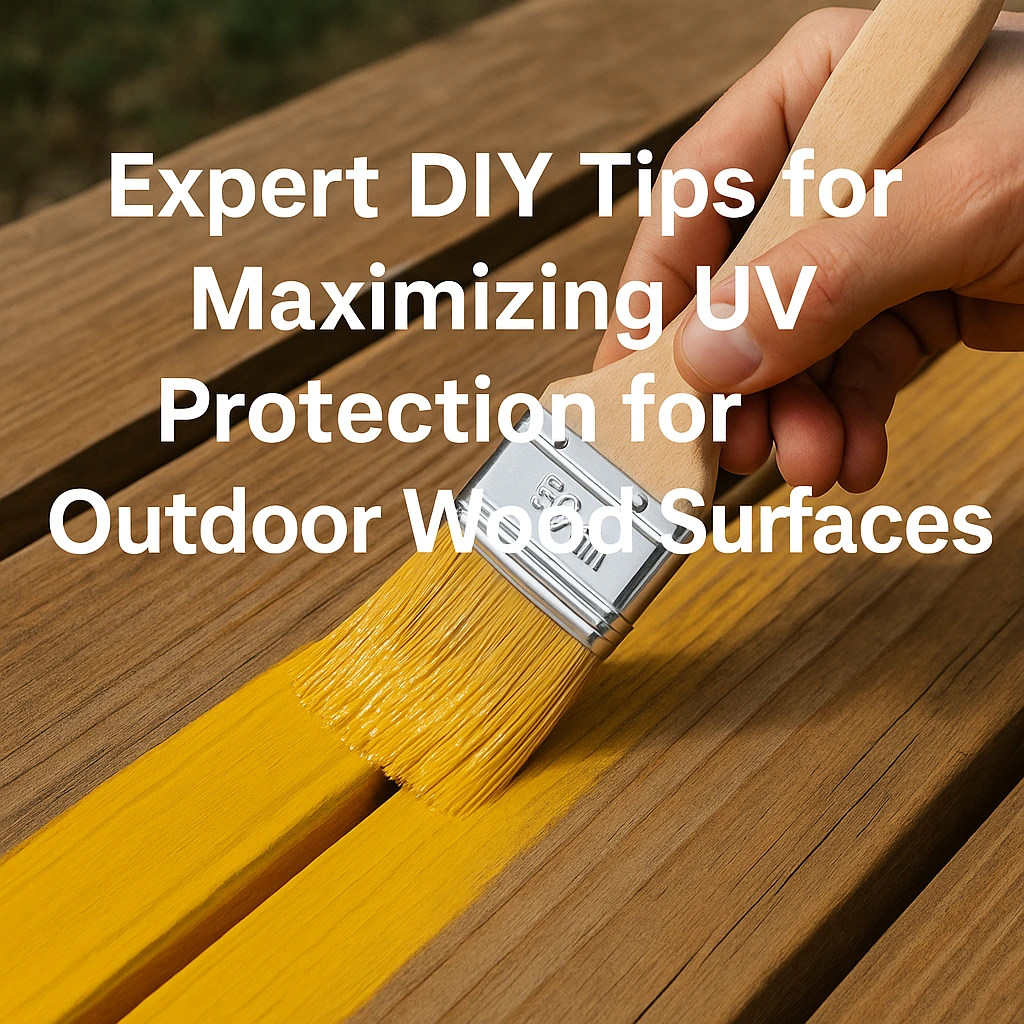
The sun’s rays can be incredibly damaging to outdoor wood, leading to fading, cracking, and a shortened lifespan for your beautiful decks, fences, and furniture. But don’t worry! With the right knowledge and a little DIY spirit, you can provide long-lasting UV protection for your wood surfaces. This guide will walk you through expert DIY tips for maximizing UV protection, including choosing the best UV resistant outdoor paint for wood and mastering application techniques. Let’s keep your wood looking its best for years to come!
Expert DIY Tips for Maximizing UV Protection
Hey there, fellow DIY enthusiasts! Are you ready to tackle the sun head-on and protect your precious outdoor wood? It’s totally doable, and I’m here to guide you every step of the way. We’re going to dive deep into how you can become a pro at UV protection, ensuring your hard work stands up to those powerful rays. Think of this as your ultimate playbook for sun-proof wood care.
Professional Application Techniques for DIYers
Alright, let’s get down to the nitty-gritty: applying that UV resistant paint for wood like a seasoned pro. It might seem a bit daunting, but trust me, with these steps, you’ll achieve that flawless, protective finish you’re aiming for. Getting the application right is absolutely crucial for optimal UV protection – it’s not just about slapping on some paint; it’s about creating a durable shield.
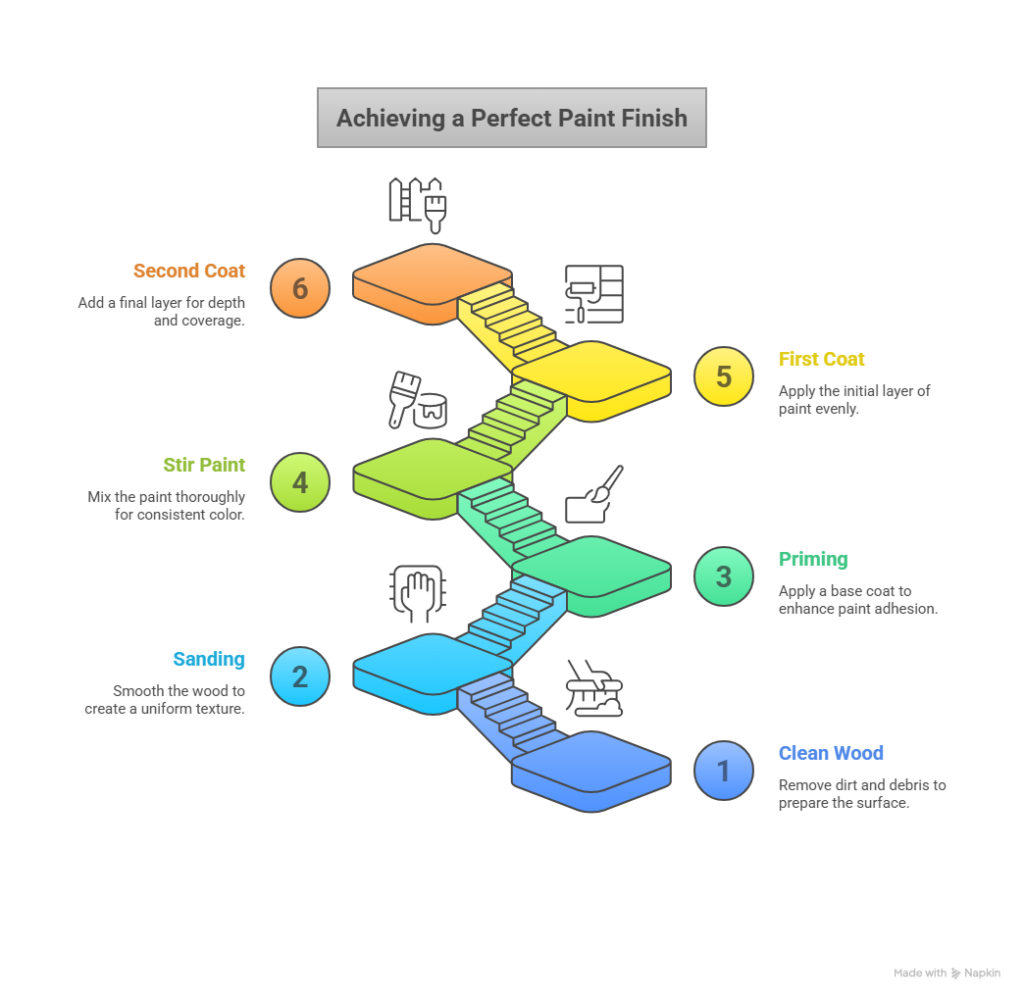
- Step-by-Step Application Guide for Optimal UV Protection:
- Proper Preparation is Key: Seriously, don’t skip this! Your wood surface must be clean, dry, and sound. This means removing any old, flaking paint, dirt, mildew, or grime. A good cleaning with a wood cleaner, followed by a thorough rinse and allowing it to dry completely (usually 24-48 hours), is essential. For bare wood, especially resinous types like pine, consider using a stain-blocking primer first. This step ensures the best outdoor paint for sun protection adheres properly.
- Sanding for Success: A light sanding with medium-grit sandpaper (around 120-150 grit) opens up the wood pores, helping the paint grip better. Always sand with the grain. After sanding, wipe away all dust with a tack cloth. This creates a smooth canvas for even UV coverage.
- Priming (If Necessary): While some UV resistant outdoor paints are self-priming, many wood types, especially those prone to bleeding tannins (like cedar or redwood) or previously stained surfaces, benefit hugely from a quality exterior wood primer. A primer enhances adhesion, provides a more uniform surface, and can add an extra layer of UV defense.
- Stir, Don’t Shake (Usually!): Most paints require thorough stirring from the bottom up to ensure the color pigments and protective solids are evenly distributed. Shaking can introduce air bubbles, which you don’t want. However, always check the manufacturer’s instructions on the can – some newer formulations might be okay with shaking.
- First Coat Application: Apply a thin, even coat of your chosen UV resistant paint for wood. Whether you’re using a brush, roller, or sprayer (more on that below!), the goal is consistent coverage. Don’t try to get full coverage in one thick coat – this can lead to drips, uneven drying, and a weaker protective layer.
- Drying Time is Crucial: Pay close attention to the recoat times specified on the paint can. Rushing this step can compromise the integrity of the finish. Humidity and temperature will affect drying times, so factor that in.
- Second Coat (and Maybe a Third): A second coat is almost always necessary for maximum UV protection and color depth. For areas exposed to intense, direct sunlight, a third thin coat can offer even greater durability and sun resistance. Ensure the previous coat is dry according to the manufacturer’s guidelines before applying the next.
- Proper Curing: Remember, paint might be dry to the touch in a few hours, but it takes days, sometimes even weeks, to fully cure and achieve its maximum hardness and protective qualities. Be gentle with the newly painted surface during this curing period.
- Tool Recommendations (Brush vs. Roller vs. Sprayer):
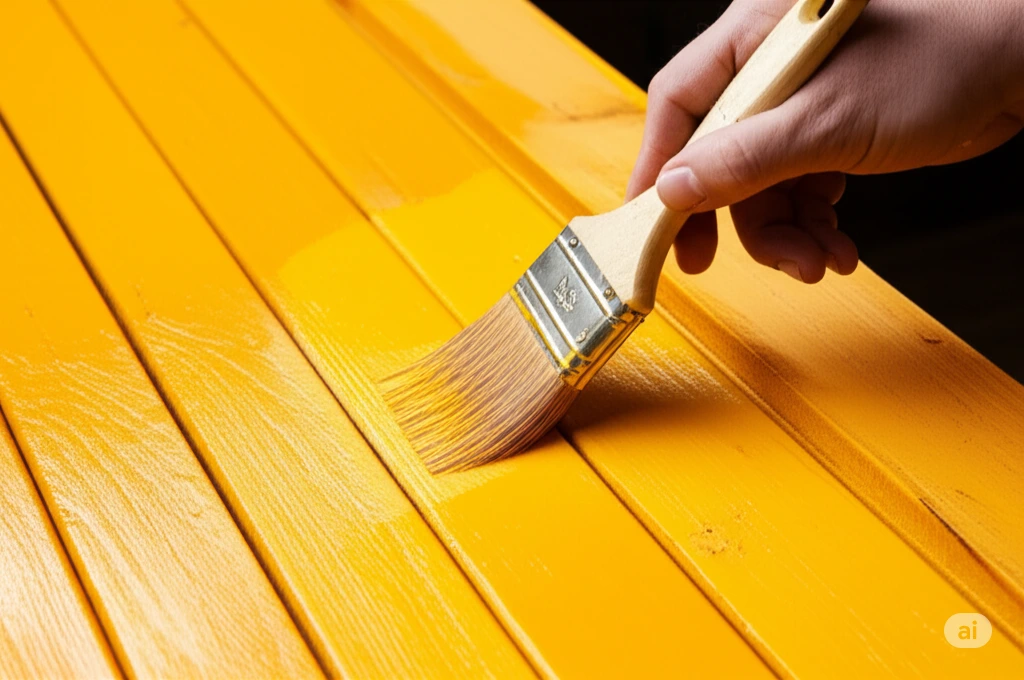
- Brushes: Oh, the trusty paintbrush! It’s fantastic for detailed work, cutting in, and getting paint into those tricky corners and textured surfaces. For outdoor wood paint, a high-quality synthetic bristle brush (like nylon or polyester) is usually your best bet, especially with water-based paints. They provide a smooth finish and are easier to clean.
Best for: Trim, railings, intricate furniture, small projects.
- Brushes: Oh, the trusty paintbrush! It’s fantastic for detailed work, cutting in, and getting paint into those tricky corners and textured surfaces. For outdoor wood paint, a high-quality synthetic bristle brush (like nylon or polyester) is usually your best bet, especially with water-based paints. They provide a smooth finish and are easier to clean.
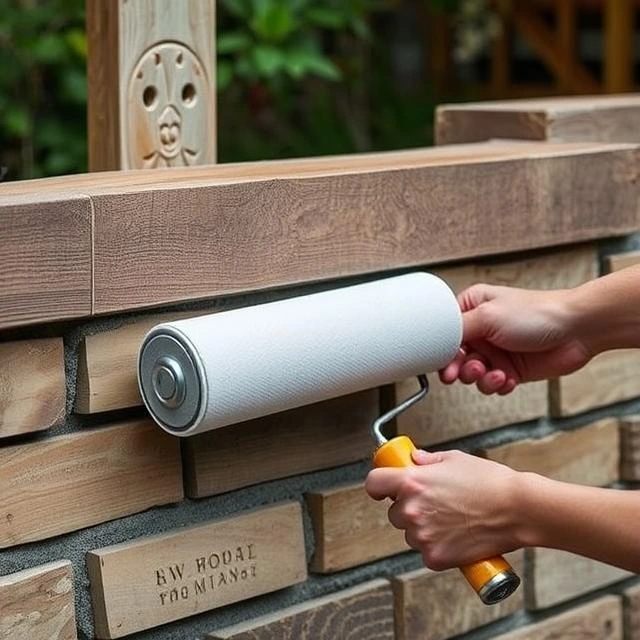
- Rollers: When you’ve got large, flat surfaces like a deck floor or a solid fence panel, a roller is your time-saving hero! Use a nap length appropriate for the texture of your wood – a 3/8-inch nap is often good for semi-smooth surfaces. Rollers are great for achieving even UV coverage quickly.
Best for: Deck surfaces, large flat panels, retaining walls.
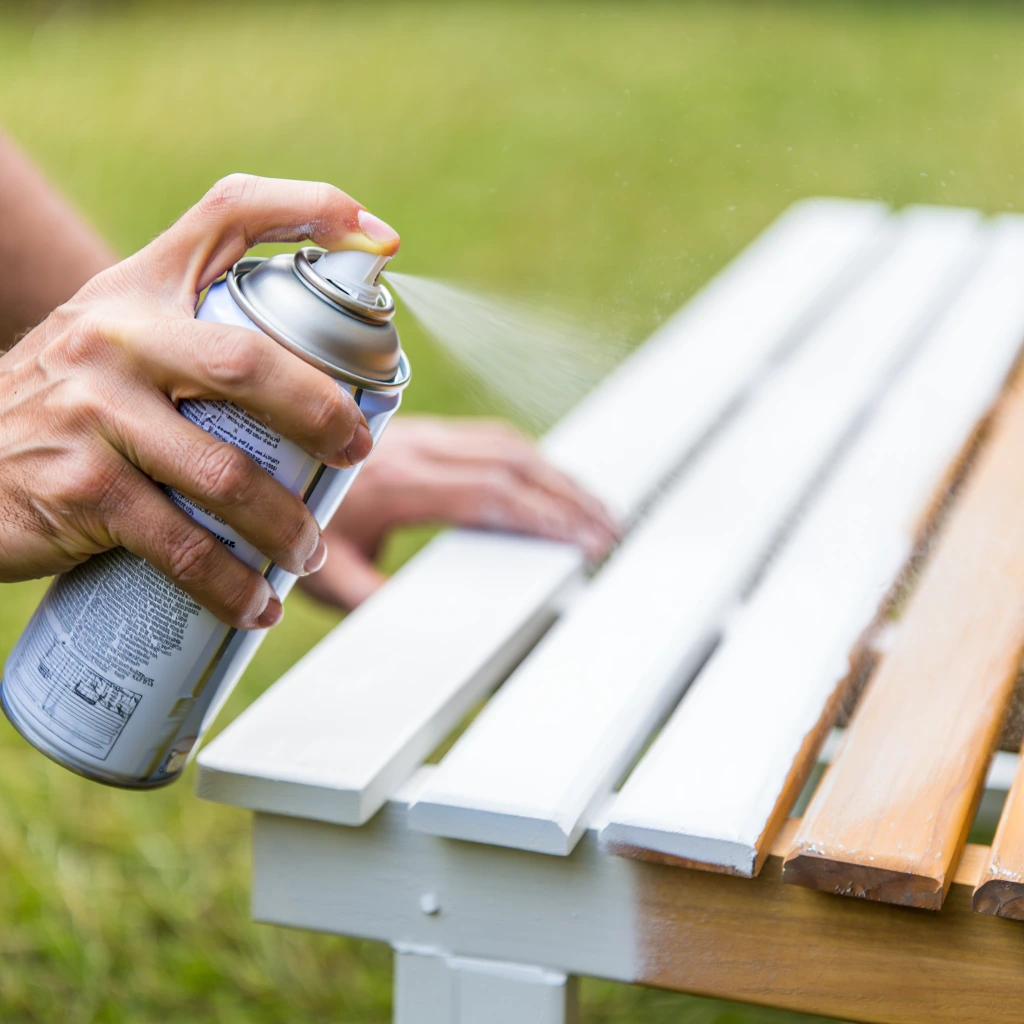
- Sprayers (Airless or HVLP): If you’re looking for the ultimate professional painting technique and have a larger project, a paint sprayer can deliver a beautifully uniform coat in record time. However, they come with a learning curve and require more prep (masking off everything you don’t want painted) and thorough cleaning.
- Best for: Large projects like entire fences, siding, pergolas; achieving a very fine finish.
- Heads up: Sprayers can use more paint due to overspray, so factor that into your calculations.
- Coverage Recommendations and Common Mistakes:
- Coverage: Always check the paint can for its stated coverage rate (e.g., “up to 400 sq ft per gallon”). It’s wise to buy slightly more than you think you’ll need to avoid running out mid-project. Factors like wood porosity and application method will affect actual coverage. Two thin coats are always better than one thick coat for optimal UV absorption resistance.
- Common Mistakes to Avoid:
- Painting in Direct, Hot Sunlight: This can cause the paint to dry too quickly, leading to brush marks, poor adhesion, and reduced UV protection lifetime. Aim for overcast, mild days or paint when the area is shaded.
- Painting on Damp Wood: Trapped moisture is wood’s enemy! It leads to peeling, blistering, and premature paint failure. Ensure wood is thoroughly dry.
- Ignoring Prep Work: As we said, it’s the foundation of a long-lasting paint job. Skimp here, and you’ll pay later.
- Applying Too Thickly: This doesn’t mean more protection! It means drips, sags, and a longer, problematic curing process. Thin, even coats are the secret to professional painting techniques.
- Not Back-Brushing/Rolling: When spraying or rolling, it’s often a good idea to lightly go over the wet paint with a brush (back-brushing) or an unloaded roller (back-rolling) to ensure even distribution and work the paint into the wood grain for better even UV coverage.
- Using Interior Paint Outdoors: Interior paints lack the UV inhibitors and flexibility needed to withstand outdoor conditions. Always use a dedicated exterior UV resistant paint.
Seasonal Maintenance to Extend UV Protection
So, you’ve expertly applied your best outdoor paint for sun protection, and your wood looks amazing! High five! But the job isn’t quite done. To keep that UV shield strong and your wood happy season after season, a little TLC is in order. Think of it like sunscreen – you reapply it, right? Same principle here for long-term wood health.
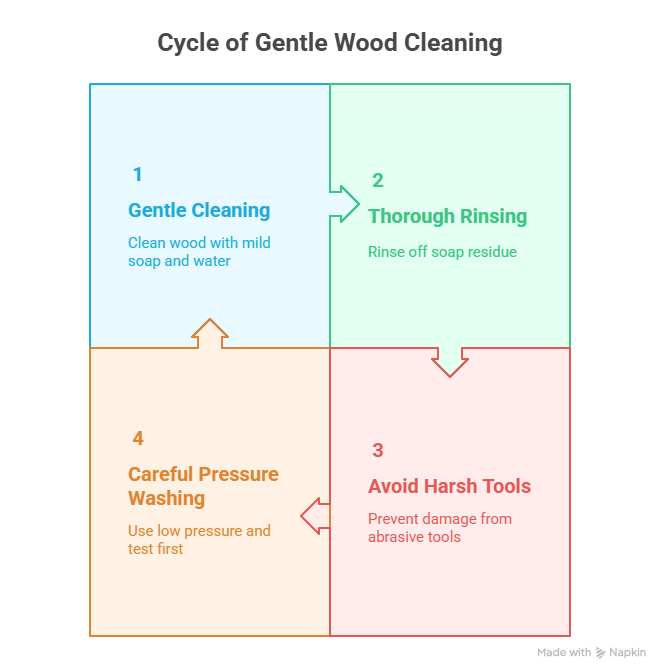
- Cleaning Procedures That Won’t Degrade UV Protection:
- Gentle Does It: At least once or twice a year (spring and fall are great!), give your painted wood a gentle clean. Avoid harsh chemical cleaners or abrasive tools like steel wool, as these can break down the protective paint layer and its UV blocking capabilities.
- Mild Soap and Water: Often, a simple solution of mild dish soap and water is all you need. Use a soft bristle brush or a sponge to gently scrub away dirt, pollen, and grime.
- Rinse Thoroughly: Make sure to rinse all soap residue off with a garden hose. Leftover soap can attract more dirt.
- Beware the Pressure Washer: While tempting for quick cleaning, a pressure washer can easily damage painted wood if the pressure is too high or the nozzle is held too close. If you must use one, use the lowest pressure setting and a wide fan tip, keeping a safe distance. Test on an inconspicuous area first. Improper use can strip away the UV protective coating.
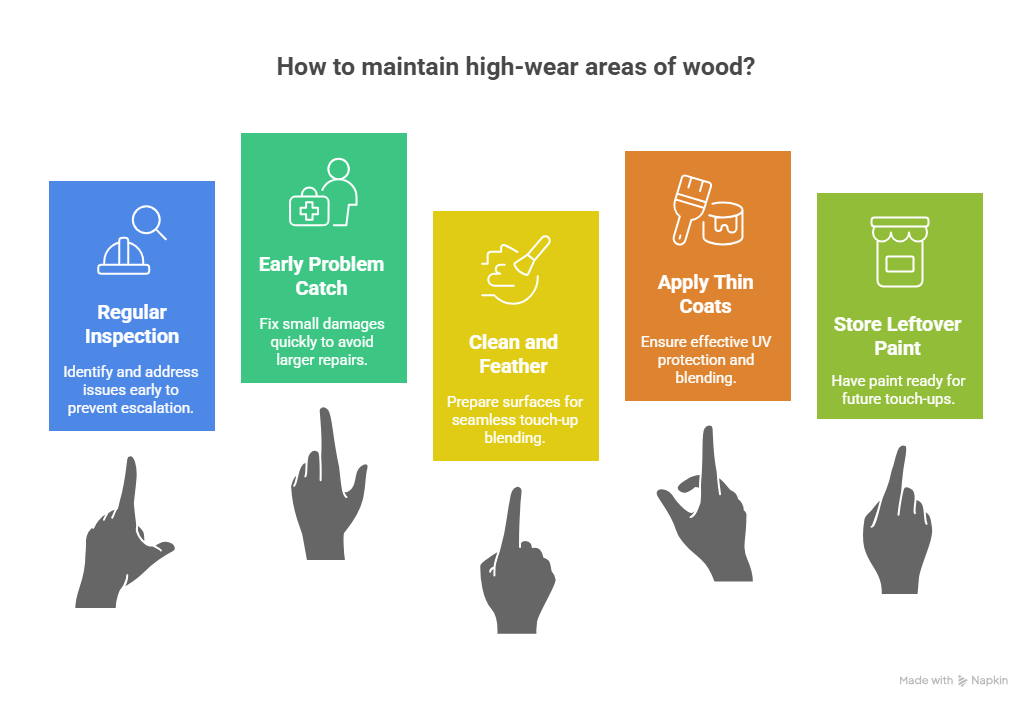
- Touch-Up Strategies for High-Wear Areas:
- Inspect Regularly: Pay extra attention to areas that get a lot of sun exposure, foot traffic (like deck stairs), or where water might pool. These are your “high-wear” zones.
- Catch Problems Early: If you spot small chips, scratches, or areas where the paint seems to be thinning, address them ASAP. Don’t wait for them to become big problems!
- Clean and Feather: Clean the damaged spot thoroughly. Lightly sand the edges of the damaged paint to “feather” them into the surrounding intact paint. This helps the touch-up blend in.
- Apply Thin Coats: Using the same UV resistant paint for wood you originally used (hopefully, you saved some!), apply a thin coat or two to the touched-up area, feathering it outwards. This is key to maintain UV protection effectively.
- Keep Leftover Paint: Always store leftover paint in a cool, dry place, properly sealed, for these exact situations. Note the color name and code!
- Inspection Schedule to Catch Issues Early:
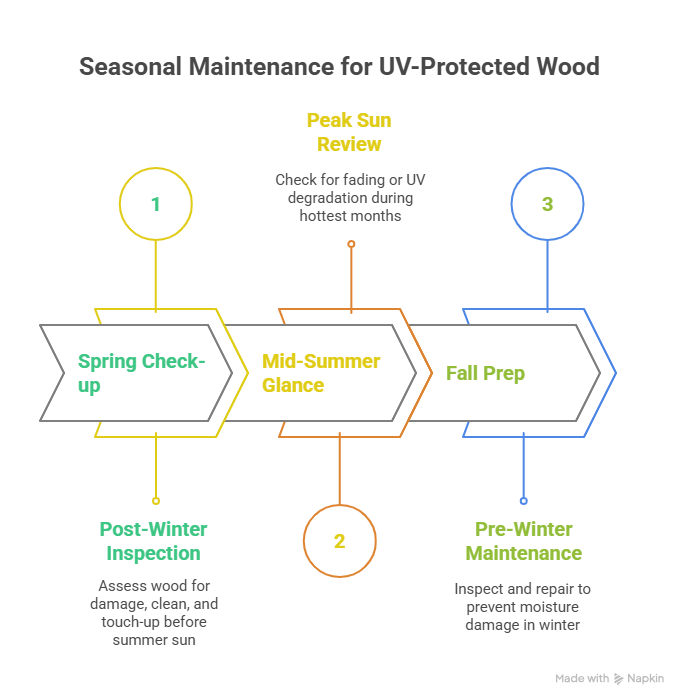
- Spring Check-up: After the winter weather, inspect for any cracking, peeling, or fading. This is often a good time for cleaning and any necessary touch-ups before the intense summer sun hits.
- Mid-Summer Glance: A quick look during peak sun season can help you spot if any areas are unexpectedly fading or showing signs of UV degradation.
- Fall Prep: Before winter sets in again, another inspection is wise. Address any issues to prevent moisture from getting into compromised areas during wet or icy conditions. This seasonal wood care routine is vital.
- What to Look For:
- Fading or chalking (a powdery residue on the surface)
- Cracking, peeling, or blistering paint
- Signs of mildew or algae growth (often indicates trapped moisture or failing protection)
- Exposed wood
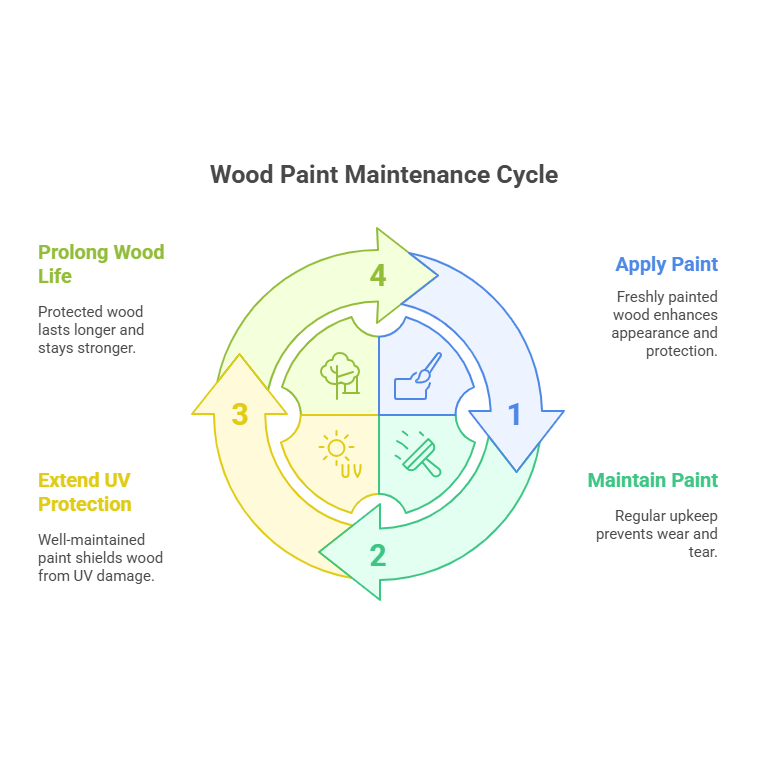
By following these wood paint maintenance steps, you’re not just keeping things looking pretty; you’re actively extending the life of your UV protection and the wood itself. A little effort goes a long, long way!
Troubleshooting Common UV Protection Failures
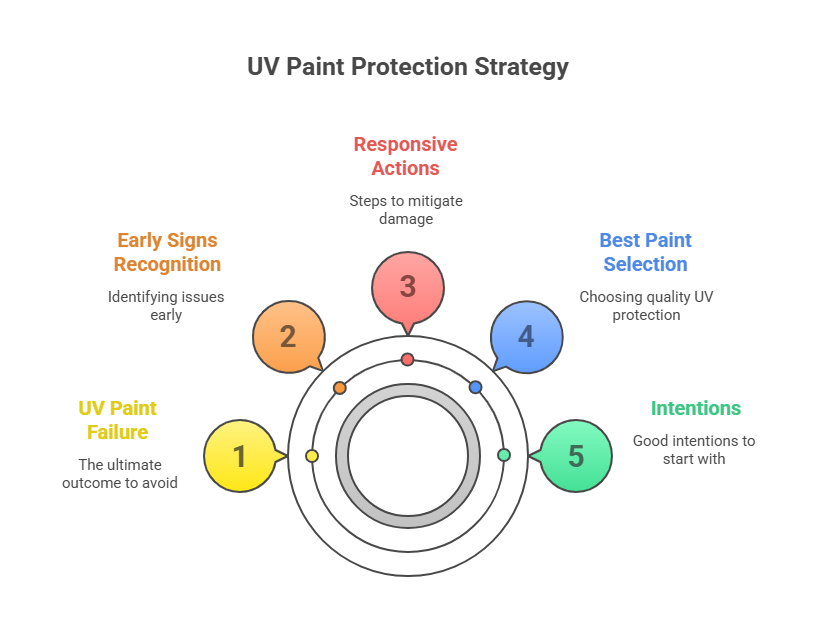
Even with the best intentions and the best outdoor paint for sun protection, sometimes things can go a bit sideways. Don’t panic! Recognizing the early signs of UV paint failure and knowing how to respond can save you a lot of headaches and potentially prevent a full-blown repainting job. Let’s become UV protection detectives!
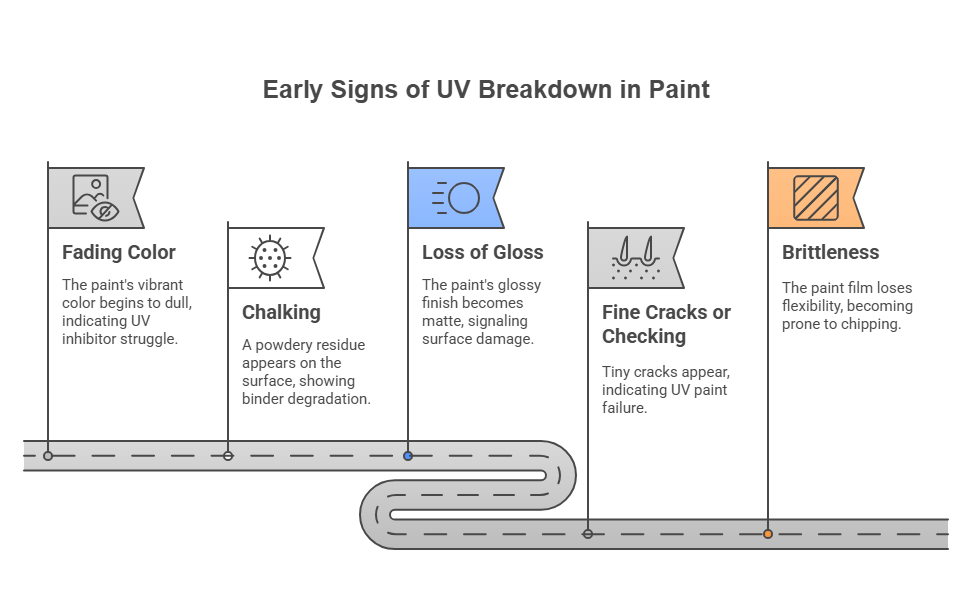
- Identifying Early Signs of UV Breakdown:
- Fading Color: This is often the very first clue. That vibrant color you loved starts looking a bit dull or washed out. This indicates the UV inhibitors in the paint are beginning to struggle against constant sun exposure.
- Chalking: If you wipe your hand across the painted surface and a powdery residue comes off, that’s chalking. It means the paint binder is starting to degrade due to UV radiation, releasing pigment particles.
- Loss of Gloss: A high-gloss or semi-gloss finish might start to look more matte. This is another sign the surface layer is being affected by sun damage.
- Fine Cracks or Checking: Tiny, hair-like cracks can appear on the paint surface. This is often a precursor to more significant peeling if not addressed. This is a clear sign of UV paint failure.
- Brittleness: The paint film may lose its flexibility and become brittle, making it more susceptible to chipping and cracking with temperature changes or impacts.
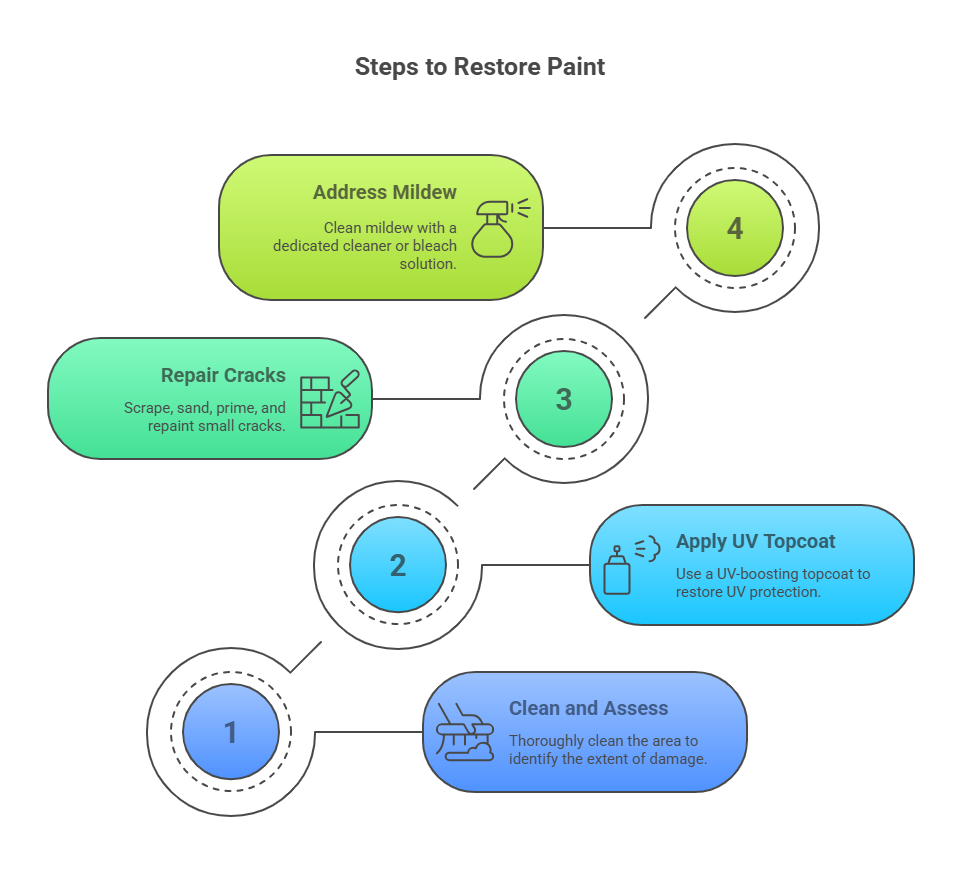
- Remedial Actions to Take Before Full Repainting is Needed:
- Clean and Assess: First, thoroughly clean the affected area as described in the maintenance section. This allows you to see the true extent of the issue.
- For Minor Fading/Chalking: Sometimes, a good cleaning and the application of a UV-boosting topcoat or a clear UV protectant sealer (compatible with your existing paint – always test first!) can help restore UV protection and revive the look. This is a good tactic if the paint film itself is still largely intact.
- For Small Cracks/Peeling:
- Carefully scrape away any loose or flaking paint.
- Sand the edges of the damaged area smooth to feather them into the sound paint.
- Clean off all dust.
- Spot-prime any bare wood with a quality exterior primer.
- Apply one or two thin coats of your original UV resistant paint for wood, ensuring good overlap with the existing sound paint. This helps to repair faded wood and compromised areas.
- Addressing Mildew: If mildew is present (black, gray, or green spots), clean it with a dedicated mildew cleaner or a solution of 1 part household bleach to 3 parts water (protect plants and rinse thoroughly). Ensure the paint is still sound; mildew often thrives where protection has failed.
- Prevention Strategies for Common Failure Points:
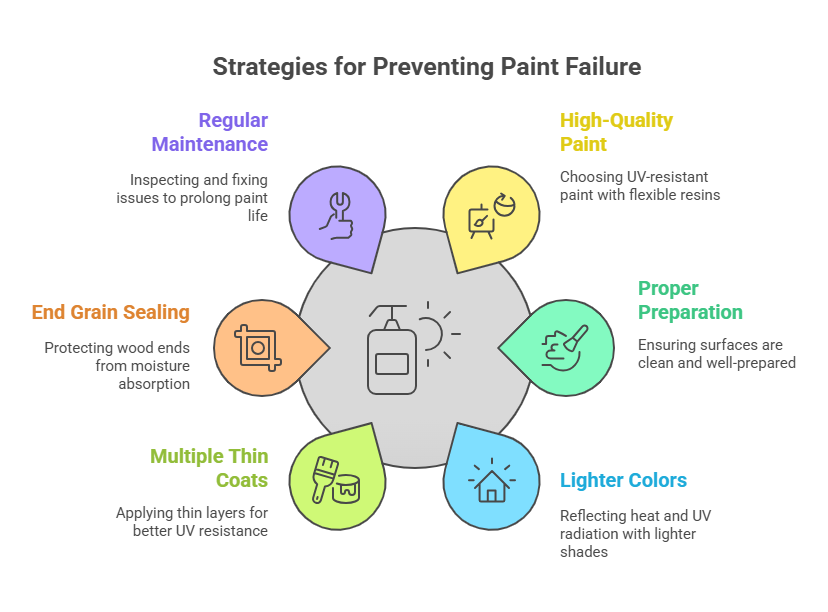
- Choose High-Quality Paint: This is your first line of defense! Investing in a top-tier UV resistant outdoor paint for wood with excellent UV blockers and flexible resins makes a huge difference. Look for paints with longer warranties against fading and peeling. The best outdoor paint for sun protection isn’t just about color; it’s about durable chemistry.
- Proper Preparation and Application: We can’t stress this enough. A clean, well-prepared surface and thin, even coats as per the professional application techniques are crucial to prevent premature failure.
- Consider Lighter Colors: Darker colors absorb more heat and UV radiation, which can put more stress on the paint film and lead to faster fading and degradation. Lighter colors tend to reflect more light and heat, often extending the life of the paint job.
- Multiple Thin Coats: Two (or even three on high-exposure areas) thin coats provide significantly better UV resistance and durability than one thick coat.
- Address End Grains: The cut ends of wood absorb moisture much faster than the surface. Always seal end grains thoroughly with primer and multiple coats of paint. This is a common failure point often overlooked.
- Regular Maintenance: Sticking to your seasonal wood care and inspection schedule allows you to catch and fix small problems before they escalate, significantly prolonging the life of your UV protection.
By understanding these common issues and how to tackle them, you’re well-equipped to keep your painted wood surfaces shielded from the sun’s relentless attack. A proactive approach to restoring UV protection is always better than a reactive one!
